If you know a thing or two about power tool brands, you're probably well aware that Black+Decker is primarily aimed at at-home DIYers looking for affordable, easy-to-use power tools. On paper, I sound like the perfect customer, but I have some real regrets a year after buying my first cordless drill from the company.
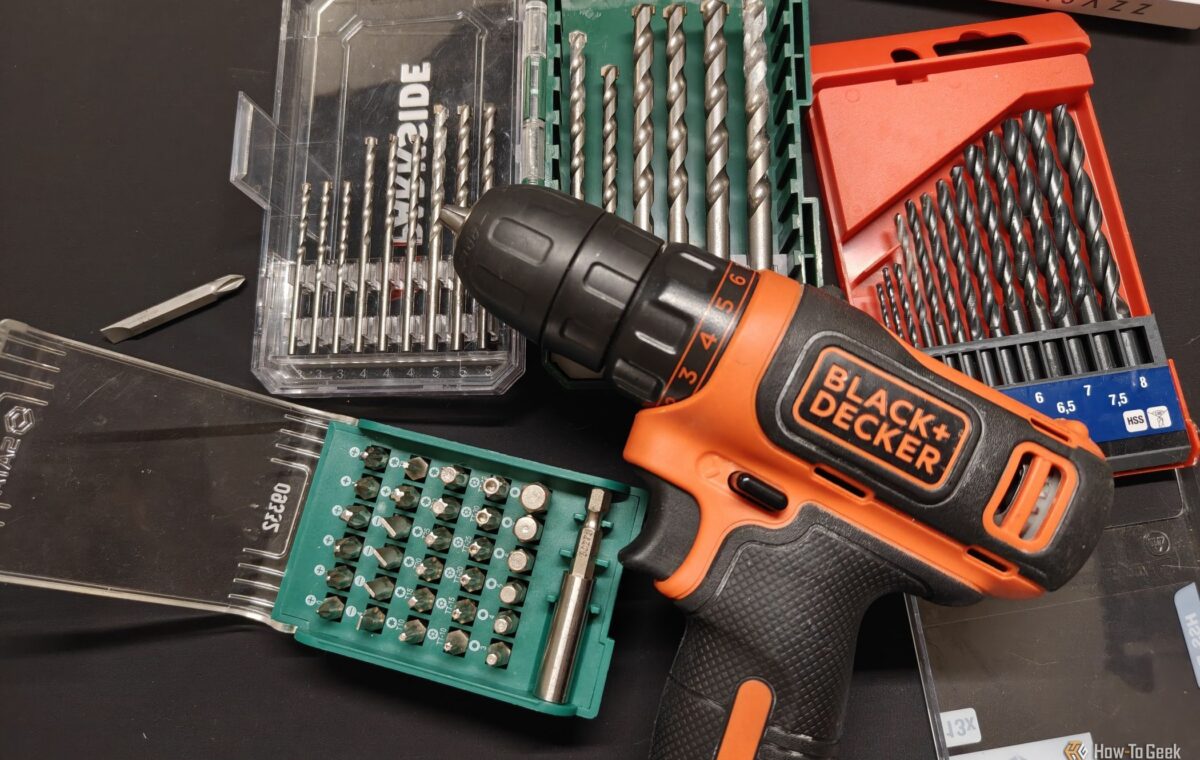
My first, and to date, only power drill/driver is the Black+Decker BDCDD12. Its peak voltage is 12V, but its actual nominal voltage is 10.8V.
That aside, the drill in question is an entry-level $50 cordless drill that is heavily marketed as a lightweight tool for DIY projects and repairs around the house.
It has a 0–550 RPM range and a 3/8-inch keyless chuck rather than the larger 1/2-inch chuck, but honestly, that's perfectly fine for a relatively underpowered drill. It holds all of my drill bits just fine, and since it's keyless, it allows for effortless bit swaps.
The 10-position clutch allows you to easily select how much torque is applied when driving screws, which helps avoid overtorquing and stripping screws—and it's actually one of the main reasons I bought the drill in the first place.
I got it just a few days before my wedding because I was buying and assembling a lot of furniture while moving into a new place, and I didn't want to waste hours or suffer from wrist pain screwing everything together with a regular screwdriver.
Aside from the 10 torque levels, there's an 11th, dedicated drill mode that provides the maximum available torque for drill bits.
The LED is another massive plus. It's located at the bottom but angled upward, so it illuminates the area in front of the drill surprisingly well. It's an excellent addition for putting together cabinets, working under furniture, and dealing with other poorly lit areas.
All things considered, the drill seemed like decent value at the time. For $50, I got the drill, a battery and charger, and even a double-ended Phillips/slotted screwdriver bit. It was everything I needed to assemble my furniture before the big day.
I bought Milwaukee's M12 line as a "compromise," but these tools quickly replaced my 18V setup. Here is why.
I didn't encounter many problems when I first started using my Black+Decker drill. Apart from a few stripped screws, which were likely user error from me using too high a torque setting and physically pushing too hard, the drill worked fine. The small battery surprised me in particular: the drill lasted through quite a few furniture assemblies before it needed a recharge.
However, everything changed when I started using the drill for jobs that required me to drill into something substantially harder than soft particle board and MDF.
The first problem came when I had to drill six relatively wide holes to mount my new 55-inch OLED TV to the wall. The walls in my building are made of concrete, and I quickly learned that my little Black+Decker drill was ill-equipped for the job. Despite going slowly and using a masonry drill bit, the drill struggled to push through the hard concrete.
Granted, a hammer drill would've been a much better choice for this job, but I bought the Black+Decker with these kinds of once-a-year projects in mind. If it couldn't make a hole in a wall, it was little more than an overpriced driver and not much of a drill, if you ask me.
Long story short, I ended up using a hammer and a massive concrete screw to break the concrete loose before finishing the job with my power drill. Rinse and repeat, and my TV was finally mounted to the wall.