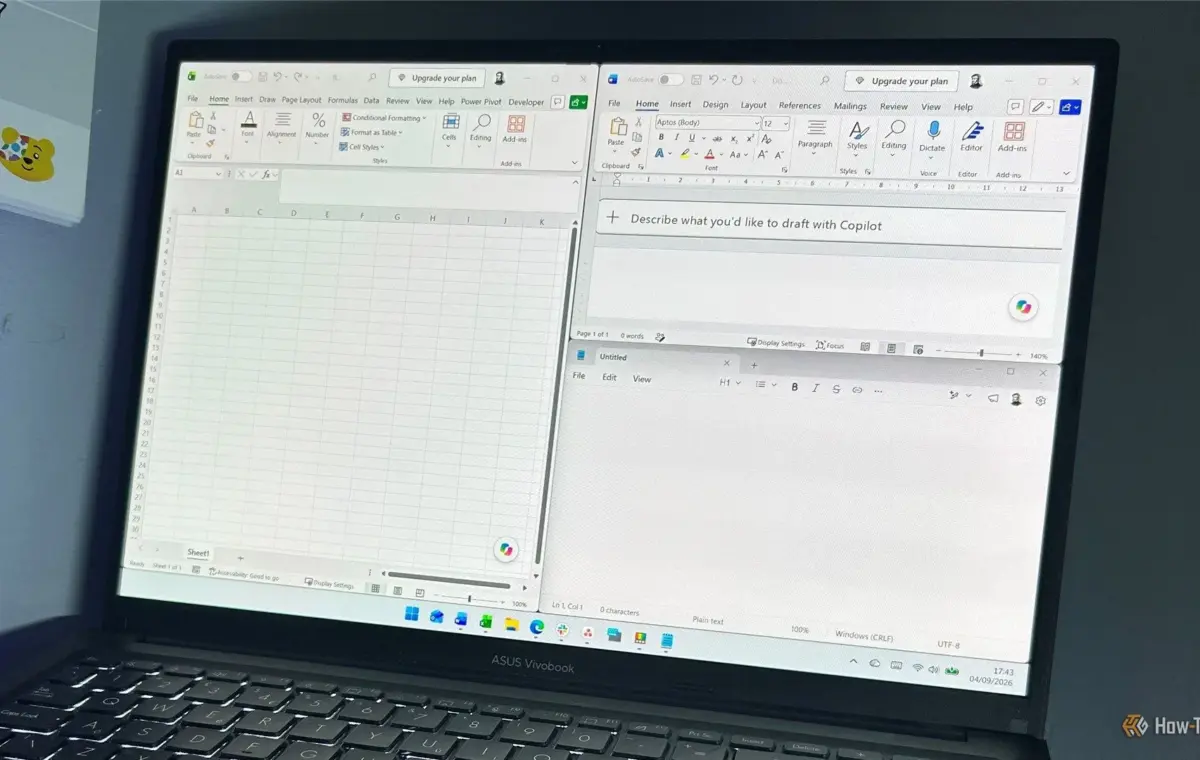
Every morning, I open the same apps and then spend the next few minutes dragging, resizing, and rearranging them across my two monitors. By the afternoon, everything has shifted again. I was getting tired of rebuilding the same desktop layouts, so I went looking for a better way. Then I found an easy-to-use PowerToys tool: Workspaces.
If you've never used PowerToys before, don't worry. Getting Workspaces up and running takes less than a minute. First, install PowerToys from the Microsoft Store, then:
The PowerToys interface can vary slightly between versions, so you may see Workspaces in a different location.
Now that Workspaces is enabled, you're ready to find the Editor. In my setup, Workspaces appears in the Quick access area. When I click it, I'm taken straight there.
If you don't see it there, click Windowing & Layouts > Workspaces, then select Open editor.
This is where you'll create and manage your saved app layouts. From here, you can arrange your apps and save the setup for later.
Workspaces lets me save a collection of apps along with the positions of their windows. When I launch that workspace later, PowerToys opens those apps and restores their saved positions.
I use my PC differently depending on what I'm doing, so I've created separate Workspaces for my weekday and weekend routines. My Weekday workspace is built around the apps I use for work. I have Word, Excel, and Notepad on my left monitor, with Slack, Asana, and Edge on my right monitor. That's the arrangement I want to see when I sit down to work, so I've saved it as a workspace rather than rebuilding it every morning.
My Weekend setup is completely different. I can have Edge open to my golf tracking website on one screen, with Xbox and a weather app on the other. When I want to switch from work mode to my weekend setup, I can launch the corresponding workspace instead of opening each app and arranging everything manually.
Yes, there are other ways to achieve something similar. I could use AutoHotkey to create a script that opens certain apps, or build my own Windows shortcuts and scripts to automate parts of the process. The difference is that those methods make me tell Windows what to do. With Workspaces, I can simply arrange my desktop the way I want it and tell PowerToys to remember it. No scripts needed.
Don't confuse Workspaces with FancyZones. FancyZones gives you reusable zones for positioning windows, while Workspaces remembers which apps belong in those positions. You don't need FancyZones to use Workspaces, either.
Creating a workspace is straightforward. Once you've opened the Workspaces Editor, click Create Workspace, open the apps you want, and arrange their windows as you like. You don't need two or more monitors to make the most of this feature; it works just as well with a single screen.
Once everything looks right, close anything you don't want included, click Capture, then give the workspace a name. Before you save the workspace, there are two more options worth considering:
Don't worry if you make a mistake when capturing your workspace. After clicking Capture, you can click Remove next to any app you don't want to include. You can also open an app's drop-down menu to change its saved window position to Maximized, Minimized, or Custom. Custom lets you adjust the left, top, width, and height while the preview updates to show the result.
The same menu also includes a Launch as Admin option, which can help if an app needs administrator privileges to launch or be repositioned correctly.