As great as 3D printing is, you can often tell when an object has come off a print bed and not out of an injection mold. This mostly comes down to layer lines, an inescapable symptom of the filament deposition modeling process.
Thankfully, there are a few things you can do to minimize or even hide these lines entirely.
Most 3D printers come with a 0.4mm nozzle. This is a great all-rounder, delivering decent-quality prints and speed when you need it. For finer detail, you’ll need to downsize your nozzle to enable printing at higher quality settings that use smaller layer lines. By shrinking the layer lines, you’re quite literally making them harder to see.
Combine smaller nozzles with higher quality presets within your slicer for best results. The downside to doing this is that less filament is deposited at a time, which means that prints can take significantly longer. For small objects that require fine detail, like miniatures and keycaps, this isn’t so bad.
You’ll also sacrifice durability, since more layer lines mean more points of weakness within the print. For larger items, especially those that require improved durability, you might want to lean on another technique.
Fuzzy skin is a technique that attempts to obfuscate layer lines by creating a deliberate textured effect. The lines are still there, but the end result looks intentional, and the fuzz can even help improve grip on items that are designed to be handheld.
You can enable fuzzy skin inside your slicer and have complete control over what the end result looks like by changing the mode, distance, and thickness. You’ll also get a preview of the finished print when you slice your model before sending it to the printer. Consider printing a fuzzy skin tester to see a real-world example of what the technique looks like.
Ironing is, as the name suggests, a technique that “irons” the horizontal surfaces in a print. With ironing enabled in the slicer, your printer will take a second pass over surfaces and deposit a small amount of filament in a bid to fill in the gaps. The only downside here is that prints will take a little longer.
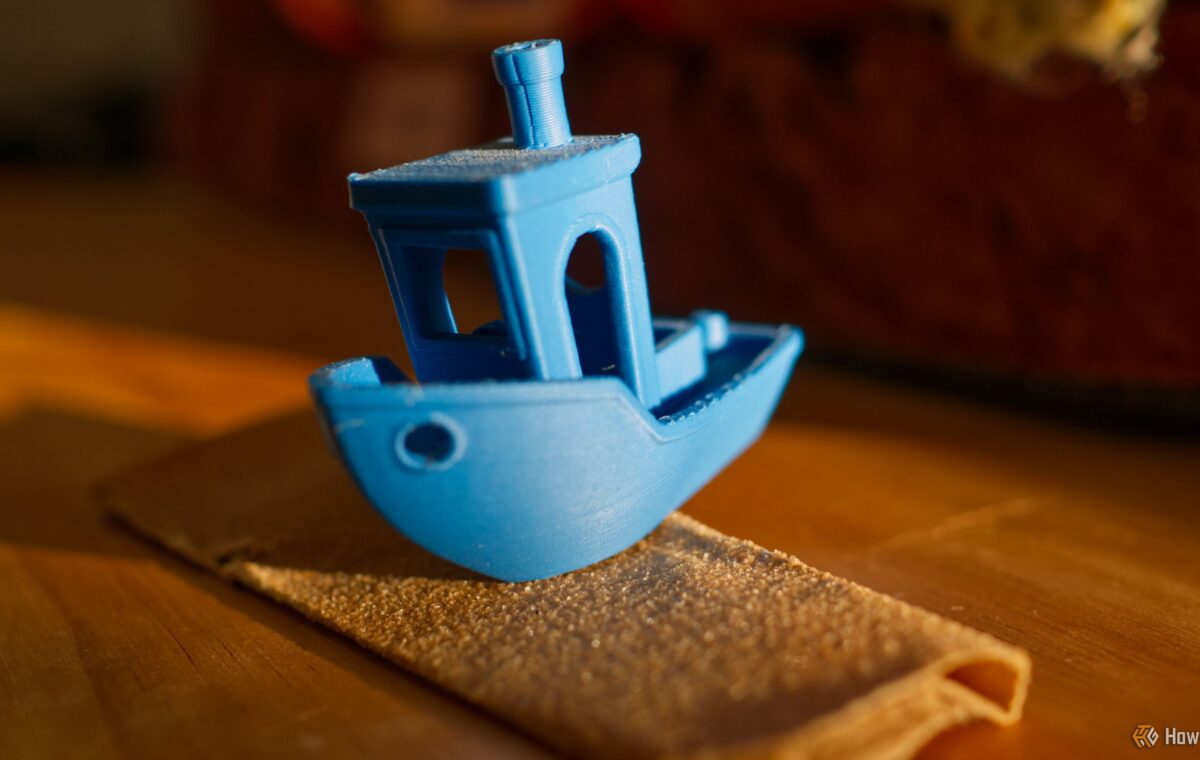
For truly smooth results, consider sanding your prints down to completely hide layer lines. It’s a good idea to test this technique out before you use it on an important print, since then you will know how the filament will react, how hard to go, and which grit sandpaper to use. A good rule of thumb is to start coarse (around 80 grit), then move to medium (120) and finish with fine (at 200 or higher).
Some filaments are made for sanding, like PLA wood, which contains actual wood. Other filaments can turn white as the material becomes stressed. Consider wet sanding by holding the model under running water while using waterproof sandpaper to reduce this effect.
Not everyone wants to paint their 3D prints, but it’s one of the best ways to hide layer lines. For best results, you should give your prints a good sanding first, then apply a spray-on primer. Self-etching auto primer is frequently recommended for 3D prints, since it provides a good base for the next layer of paint and can help fill in layer lines.
You can then paint with acrylics or fancy model paints that you would use for tabletop RPGs. Just remember that adding primer and paint will add to the thickness of your print, which might cause parts not to fit together properly if they need to.
If you want your prints to shine, clear-coat epoxy resin is the way to go. A product like XTC-3D COAT from Smooth-On can be applied within a 10-minute window and cured in four hours. This is a self-leveling clear coat, which means it won’t leave brush marks. It also means that the layer lines should be filled in and the object will no longer “feel” 3D printed.
Layer lines might still be visible if you stick with a transparent finish and aren’t sanding or painting beforehand. Alternatively, you can mix the clear coat with a color to completely hide your layer lines. Applying a clear coat is one of the few ways to make a model food-safe, though you’ll want to use a product like MAX CLR A/B for this (not XTC-3D).
Chemical smoothing is the process of using chemical vapors to dissolve the very outer layer of a 3D print. This erases layer lines, creates a glossy outer shell, and can even improve the durability of prints. Unfortunately, it doesn’t work for all filaments.